Quick Start
This guide will walk you through creating and deploying your first web application. For more details, please see the User's Guide.
- Installing the plugin
- Creating your first Web Application
- Running your Web Application locally
- Deploying your Web Application
Installing the plugin
If you are already familiar with installing Eclipse plugins, you can just use the update site URL below for your version of Eclipse.
Eclipse 3.5 (Galileo)
http://dl.google.com/eclipse/plugin/3.5
Eclipse 3.4 (Ganymede)
http://dl.google.com/eclipse/plugin/3.4
Eclipse 3.3 (Europa)
http://dl.google.com/eclipse/plugin/3.3
For more details, see Eclipse 3.5 Installation Instructions, Eclipse 3.4 Installation Instructions, or Eclipse 3.3 Installation Instructions.
Note: Installation can take a long time on Eclipse 3.4 because Eclipse is looking for updates to the plugin's dependencies. You can speed up installation by temporarily turning off these update checks.
Creating your first Web Application
To create your first Web Application, select File > New > Web Application Project from the Eclipse menu.
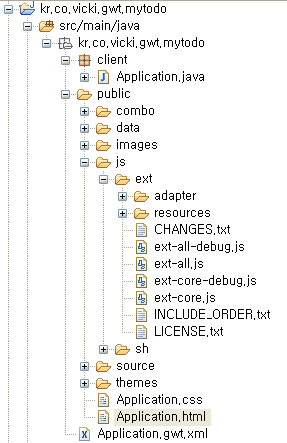
In the New Web Application Project wizard, enter a name for your project and a java package name, e.g., com.example.mywebapp. Click Finish.
Congratulations, you now have an App Engine and GWT-enabled web application!
Running your Web Application locally
Right-click on your web application project and select Debug As > Web Application from the popup menu.
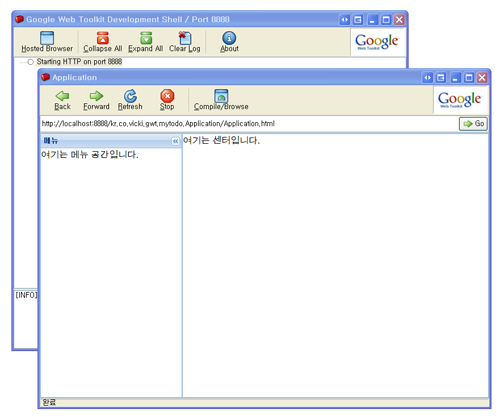
This action creates an Eclipse Web Application launch configuration for you and launches it. The web application launch configuration will start a server and the GWT hosted browser.
At this point, you can set breakpoints, inspect variables and modify code as you would normally expect from a Java Eclipse debugging session.
Deploying your Web Application
To deploy your web application, you will need to create an application from the App Engine Administration Console, at the following URL: https://appengine.google.com/. If you already have one, then you can skip this step.
Once you have an application ID, just right-click on your project, and select Google > App Engine Settings... from the context menu. Enter your application ID into the Application ID text box. Click OK.
Right-click on your project and select Google > Deploy to App Engine. In the resulting Deploy Project to Google App Engine dialog, enter your Google Account email and password.
Note: Don't worry - the plugin doesn't store your password anywhere.
Click Deploy.
Go to http://application-id.appspot.com/ to see your application
